Set up TP-Link repeaters correctly: Boost WLAN signal throughout the house
Learn how to set up your TP-Link repeater to boost the Wi-Fi signal throughout your home.
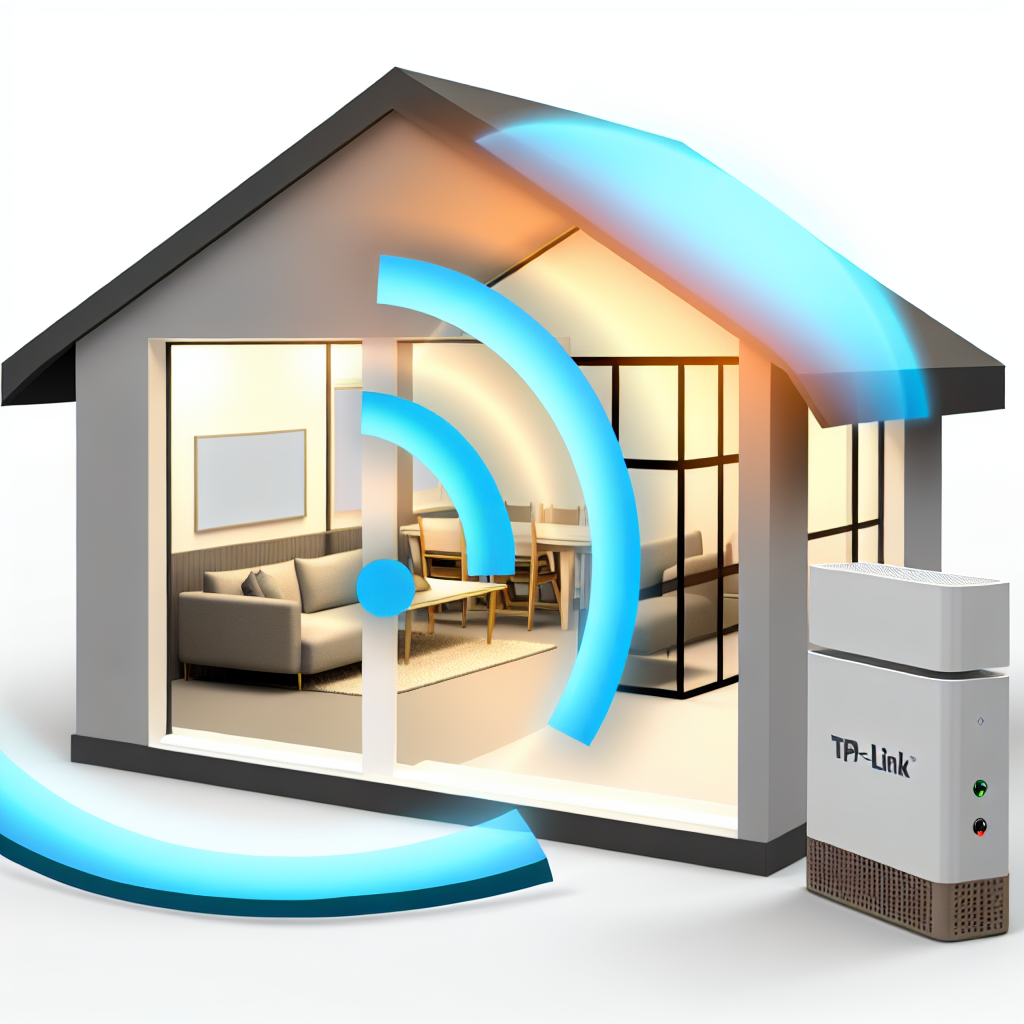
A weak Wi-Fi signal can be a constant problem in a large house or apartment with many walls. The TP-Link Repeater is an effective solution to extend the range of your Wi-Fi network and ensure a strong signal in all areas of your home. In this article, you will learn how to set up your TP-Link repeater correctly to achieve optimal results.
Why use a TP-Link repeater?
A TP-Link repeater picks up the existing Wi-Fi signal and retransmits it amplified. This is particularly useful in rooms that are far away from the router or separated by walls and floors. By using a repeater, you can enjoy an improved and more stable Internet connection throughout your home.
Note on AI-generated content: The content of this blog is created with the help of advanced artificial intelligence. Although we strive to always provide you with accurate and useful information, questions or ambiguities may remain. In such cases, our experts will be happy to help you. Please do not hesitate to contact us using the details below. Our specialists are true experts in their field and will be happy to help you!

Contact options:

 Feedback form: Fill out the form
Email: [email protected]
Phone: +493069202294
We look forward to your queries and to helping you with any concerns you may have!
Advantages of the TP-Link repeater:
- Simple setup and configuration
- Increased WLAN range and signal strength
- Support for dual-band WLAN
- Compatibility with all common WLAN routers
Step-by-step instructions for setting up the TP-Link repeater
Setting up your TP-Link repeater is a simple process that can be completed in just a few steps:
1. placement of the repeater
Choose a location that is approximately halfway between your router and the area where you want to improve the signal. Avoid locations that could be blocked by large metal objects or microwave ovens, as these can interfere with the signal.
2. connection to the router
Switch on the repeater and connect it to your router using the WPS button. Simply press the WPS button on your router and then on the repeater to connect them automatically.
3. configuration via web interface
After the automatic connection, you can configure the repeater further via a web interface. Enter the IP address of the repeater in your browser and log in. Here you can make advanced settings, such as changing the network name (SSID) and password.
4. testing the connection
Once set up, test the strength and stability of the signal in different parts of your home. You may need to adjust the location of the repeater slightly to achieve optimum results.
Further tips for optimizing your WLAN network with a TP-Link repeater
To get the best out of your TP-Link repeater, you should update the firmware regularly and adjust the position of the repeater if necessary to ensure the best performance at all times. Using a strong password and regularly checking the connected devices will also contribute to the security of your network.
TP-Link repeater: A solution for WLAN problems throughout the house
With a TP-Link repeater, you can ensure that your Wi-Fi signal reaches every corner of your home. With the right setup and positioning, you can significantly improve your internet connection and extend your network coverage. Follow the steps and tips above to get the most out of your TP-Link repeater.