Laying fiber optic cable in the house: step by step to a fast Internet connection
"Instructions for laying fiber optic cables in the house for a fast Internet connection. Simple, efficient and explained step by step."
Laying fiber optic cables in your home is a crucial step towards improving your Internet connection. Fiber optic cables provide a faster and more reliable internet connection than traditional copper cables. In this article, we'll go step-by-step through the process of laying fiber optic cable in the home.
Note on AI-generated content: The content of this blog is created with the help of advanced artificial intelligence. Although we strive to always provide you with accurate and useful information, questions or ambiguities may remain. In such cases, our experts will be happy to help you. Please do not hesitate to contact us using the details below. Our specialists are true experts in their field and will be happy to help you!

Contact options:

 Feedback form: Fill out the form
Email: vertrieb@graef-gruppe.de
Phone: +493069202294
We look forward to your queries and to helping you with any concerns you may have!
Why lay fiber optic cable in the house?
Fiber optic cables offer a number of advantages over conventional copper cables. They offer a higher bandwidth, which means they can transmit more data. In addition, they are less susceptible to interference and offer a more stable connection. This makes them ideal for homes where multiple devices access the internet at the same time.
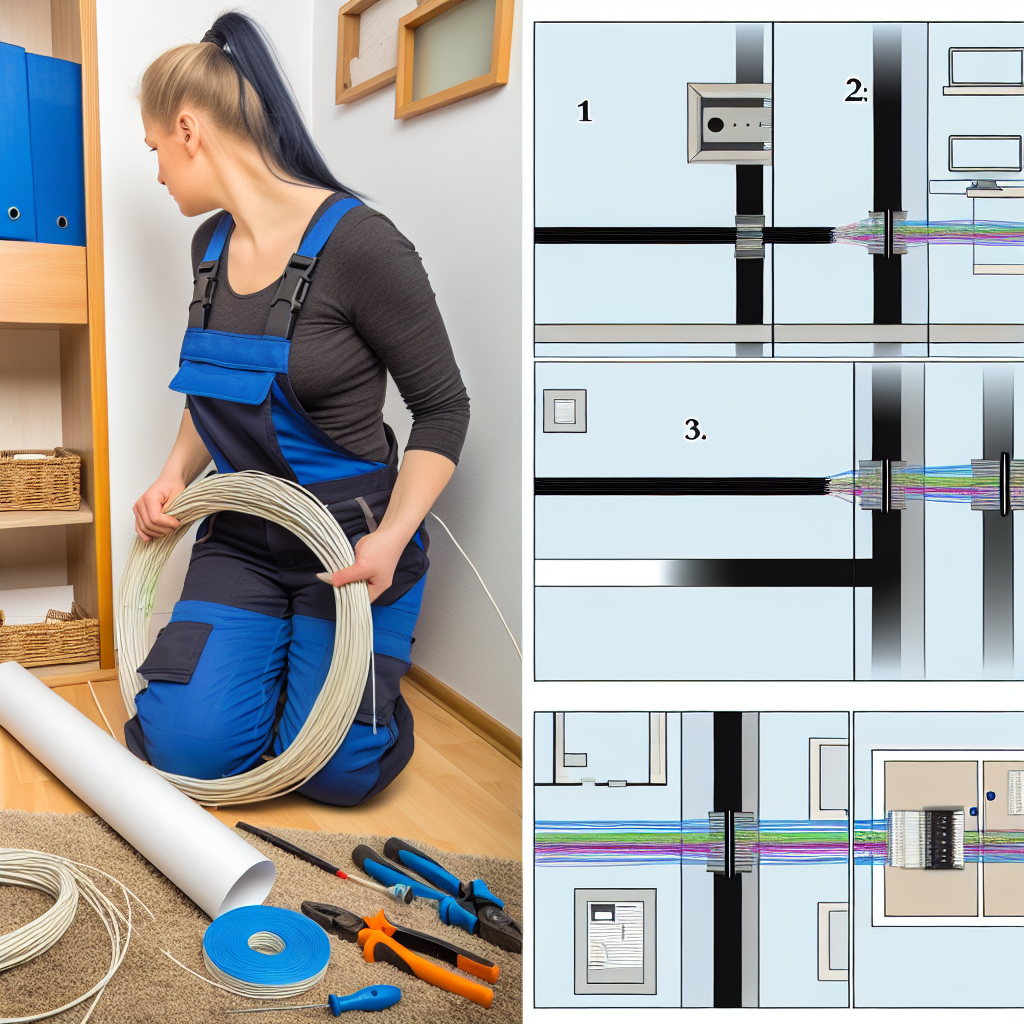
Step 1: Planning
The first step in laying fiber optic cables in the house is planning. You need to decide where the cables should run and where the connection points should be. It is important that you have a plan before you start work to ensure that the cables are laid properly and that you have enough cables to cover all the desired areas.
Step 2: Material procurement
Once you have drawn up your plan, you will need to procure the necessary materials. This includes the fiber optic cable itself, as well as all the necessary tools and accessories. You will also need special equipment for cutting and connecting the cables.
Step 3: Laying the cables
The next step is the actual laying of the cables. This can be a challenge, especially in older homes where the walls may not be designed for running cables. You may need to drill holes in the walls or install cable ducts to run the cables.
Step 4: Connecting the cables
Once the cables have been laid, they need to be connected. This requires specialized knowledge and tools, so it's often best to hire a professional. Once the cables are connected, you should be able to enjoy a faster and more reliable internet connection.
Tips and tricks
- Make sure you have enough cable to cover all the desired areas.
- Use special tools to cut and connect the cables.
- Hire a specialist if you are not sure how to connect the cables.
Laying fiber optic cable in the home: a step towards a faster Internet connection
Installing fiber optic cable in the home can be a challenge, but the benefits are worth it. With a faster and more reliable internet connection, you can enjoy the internet to the fullest without having to worry about slow speeds or unstable connections. With the right planning and the right tools, you can install fiber optic cable in your home and improve your internet connection.